Door (On-Body) Weatherstrip Seal Installation Guide
A complete guide to door weatherstrip seal replacement for cars, vans, campervans and commercial vehicles.
Door (on-body) weatherstrip seals play a vital role in protecting your vehicle's interior from the elements. These flexible rubber seals fit around the door aperture and create a tight barrier between the door and the vehicle body.
Over time, weatherstrips can become worn, cracked, flattened or damaged due to age, exposure to sunlight, changing temperatures and regular use. When this happens, you may experience water leaks, excessive wind noise, dust ingress, rattles and unwanted vibrations while driving.
Performing a door weatherstrip seal replacement restores the original sealing performance of the vehicle, improves cabin comfort and helps protect the interior from moisture and contamination.
This guide applies to most cars, vans, campervans, motorhomes and commercial vehicles and explains everything you need to know about selecting and installing a replacement seal.

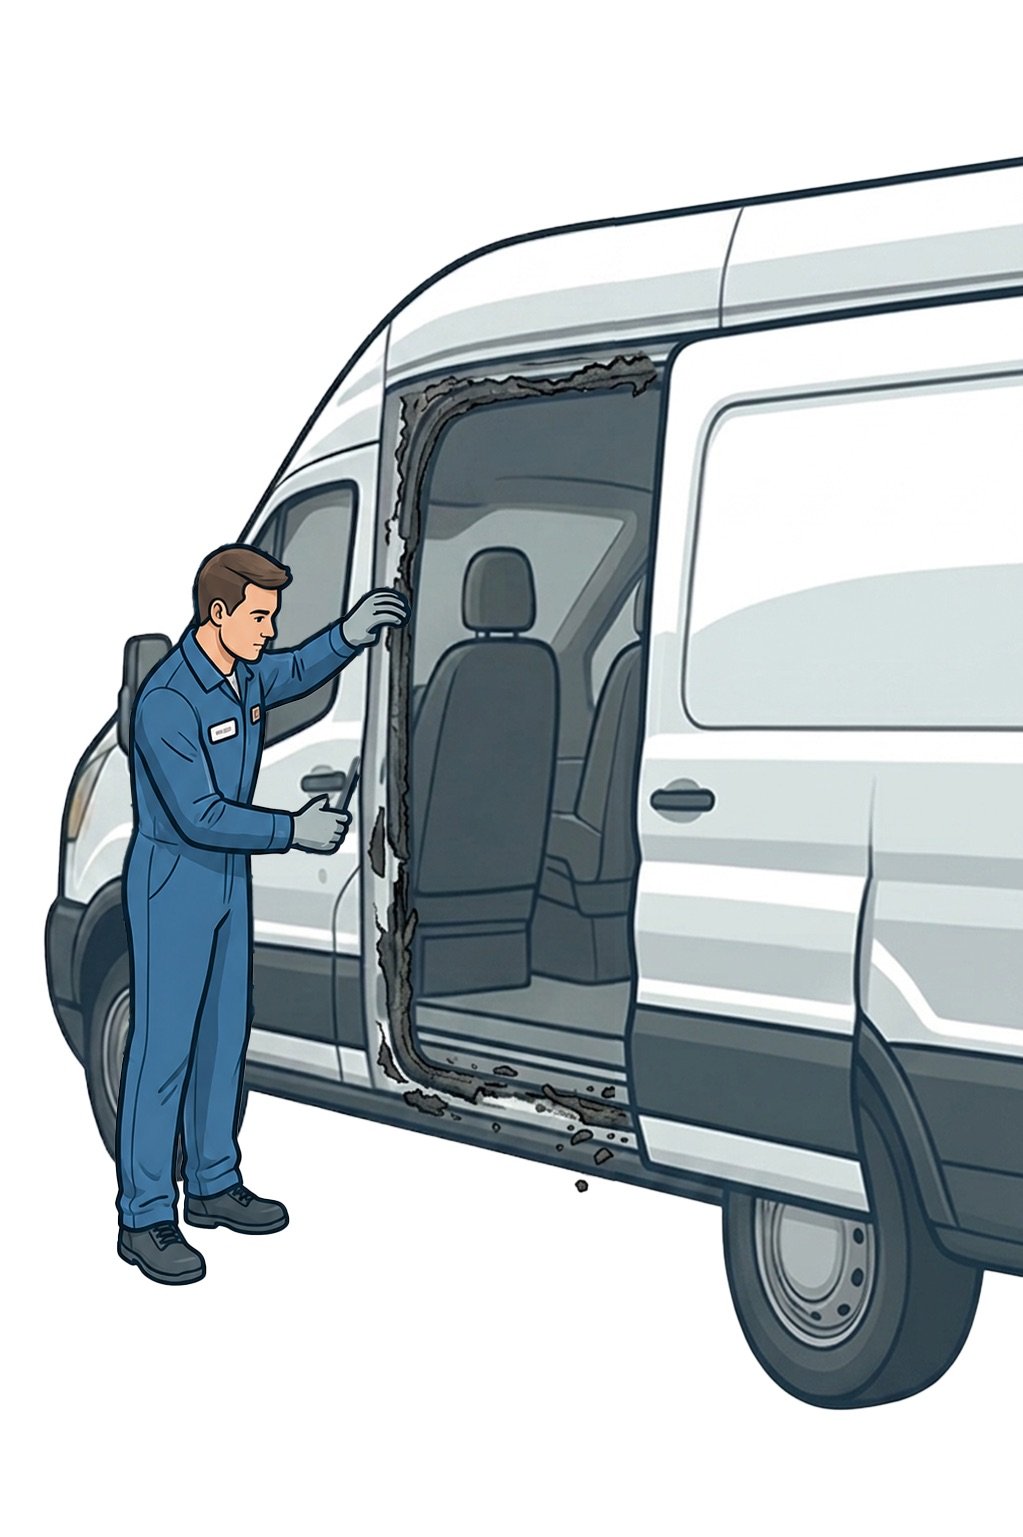
Step 1: Remove the Old or Damaged
Begin by carefully removing the existing weatherstrip from the door aperture.
Procedure:
1. Locate one end of the seal.
2. Gently pull the weatherstrip away from the metal flange.
3. Continue working around the aperture.
4. Inspect the seal for damaged or deteriorated sections.
5. Remove any remaining fragments or clips.
Take care not to bend or damage the vehicle's mounting flange during removal.
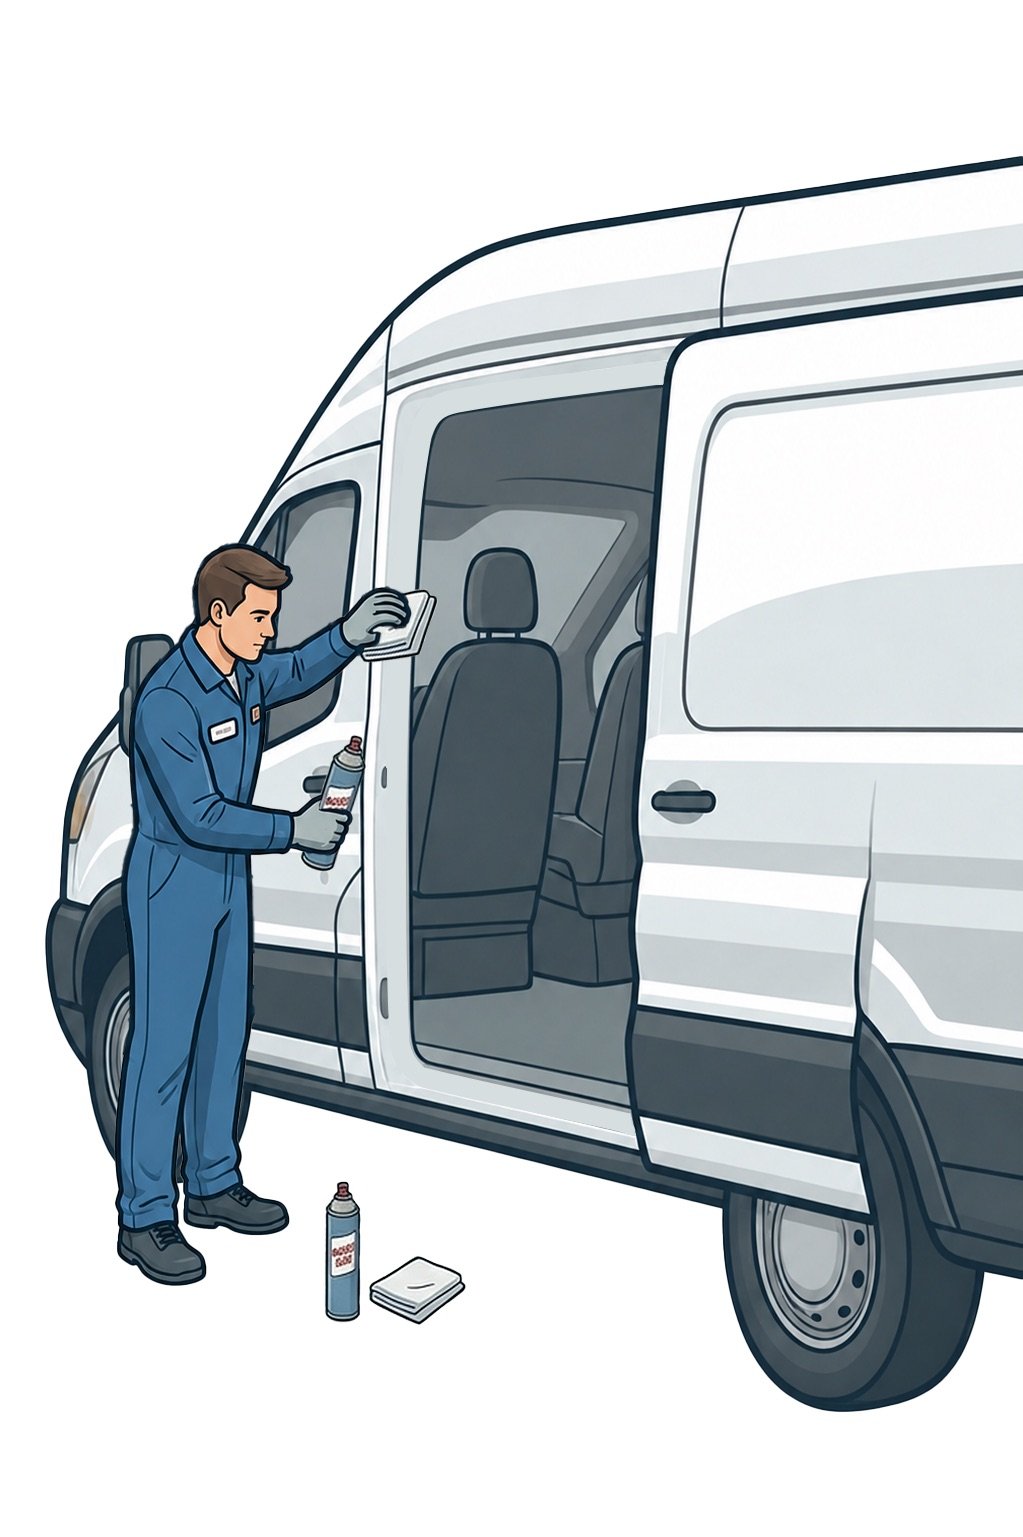
Step 2: Clean the Door Aperture Surface
Proper surface preparation is essential for successful door weatherstrip seal replacement.
Procedure
1. Remove dust and loose debris.
2. Clean away old adhesive residue.
3. Wipe the entire aperture using a clean cloth.
4. Inspect for corrosion or contamination.
5. Allow the surface to dry completely.
A clean mounting surface helps ensure proper fitment and long-term sealing performance.
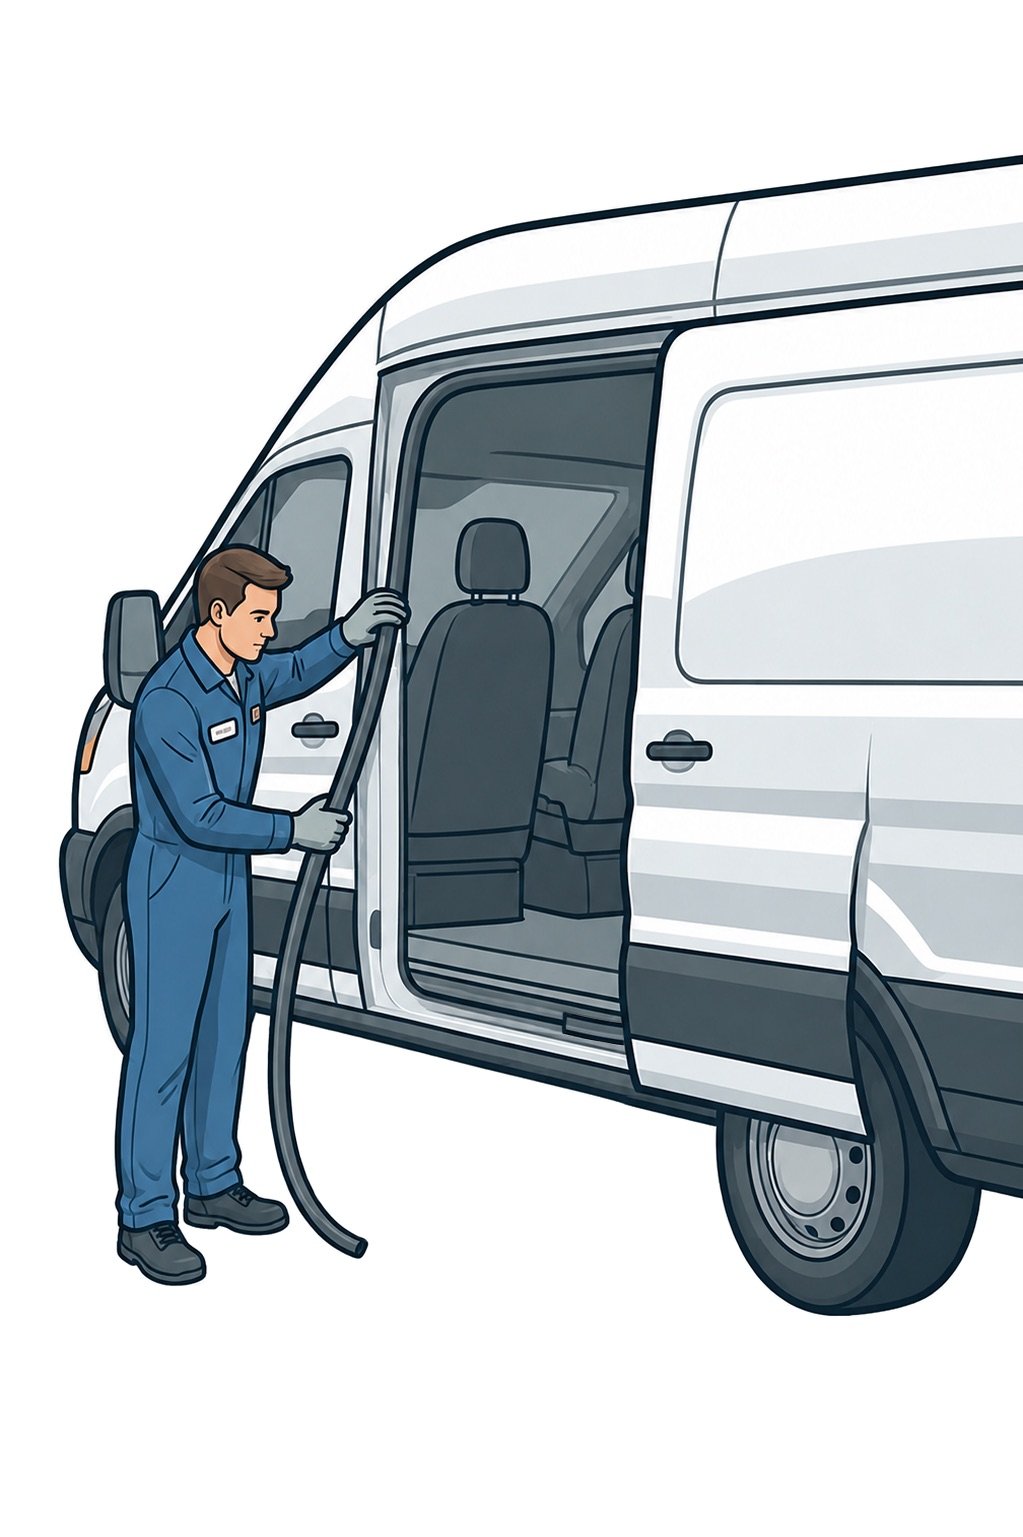
Step 3: Position the New Seal and Begin Installation
Careful positioning at the beginning of the installation will make the remainder of the process much easier.
Procedure:
1. Start at a corner or convenient edge of the aperture.
2. Align the weatherstrip channel with the metal flange.
3. Press the seal firmly into place.
4. Check that the profile is correctly orientated.
5. Continue fitting a short section at a time.
If required, use a plastic mallet or rubber hammer to gently tap the seal onto the flange.
Avoid excessive force which could damage the rubber or reinforcement.
Step 4: Secure the Seal Around the Entire Door Aperture
Continue installing the seal around the entire perimeter of the door opening.
Procedure:
1. Work gradually around the aperture.
2. Maintain consistent alignment.
3. Press the channel fully onto the flange.
4. Use gentle taps where necessary.
5. Smooth out any bumps or twists.
Inspect the seal regularly during installation to ensure it sits evenly against the door frame.
Proper seating is critical for achieving maximum sealing performance and noise isolation.

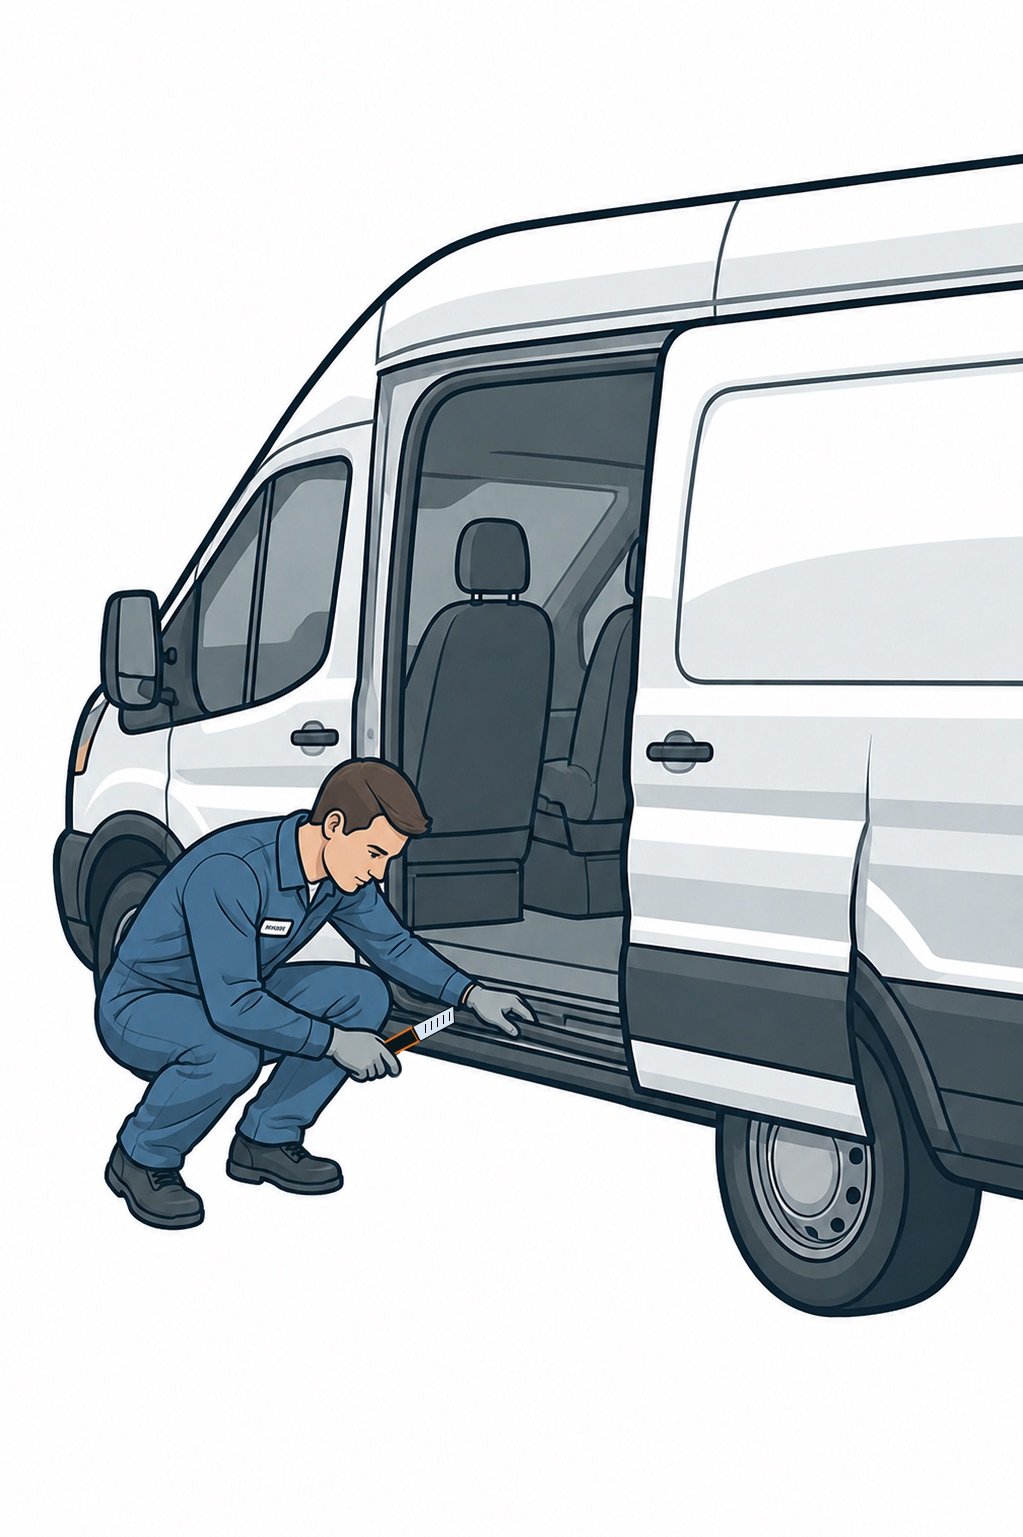
Step 5: Trim Excess Material
After completing the installation, inspect the seal length carefully.
Procedure:
1. Check whether excess material remains.
2. Leave approximately 1–2 cm of extra material initially.
3. Push any surplus into the channel where possible.
4. Mark the final cutting point.
5. Use a hand pruner or suitable cutting tool to make a clean cut.
Avoid over-cutting the seal, as this can create gaps that allow water and air to enter.
Take your time and measure carefully before trimming.